Achieving Zero-Downtime Using Blue-Green Deployment

In my previous post, I shared how I leveraged a low-code platform to automate deployment notifications. This time, I want to dive deeper into the technical aspect details of how I implemented blue-green deployment to achieve zero-downtime.

Backstory
Recently, I built and deployed my personal site using Next.js, serving it as a static web page. Since the deployment was entirely self-managed, I took full responsibility for setting up and integrating the code deployment pipeline.
At first glance, setting up the deployment pipeline seemed like a straightforward process. The typical steps included:
- Configuring the domain for the new site.
- Setting up the web server (I opted for Nginx).
- Creating a pipeline to pull the latest code from the repository.
However, it turned out to be more complax than expected–particularly the part where I automated fetching the latest code and ensuring the server always showed the most up-to-date version. This involved plenty of trial and error, troubleshooting, and experimenting with different configurations to get everything working seamlessly.
Eventually, I got the pipeline up and running. Now, whenever a change is merged into the default branch, the pipeline securely SSHs into my VPS, updates the application directory with the latest changes, and restarts the process manager (PM2) to apply them.
Despite the initial success, one issue remains unsolved: a brief downtime during deployment. Each time the process manager reloaded the active application (a single instance) to apply the latest code, the site experienced a temporary "502 Bad Gateway" error for a few seconds.
Although the downtime only lasted a couple of seconds–and the site is merely a static portfolio page–I still wanted to to be "highly available", ensuring it was accessible at all times. Downtime, no matter how brief, signals room for improvement. And improvement means learning, which is exactly what this post is about.
Deployment strategies
In today's everything-is-available world, we're fortunate to have a variety of cloud providers offering deployment options designed for zero-downtime. However, since my project is entirely self-managed and doesn't rely on cloud services, I needed to implement a solution myself. After some research, I discovered several commonly used strategies for achieving zero-downtime deployment:
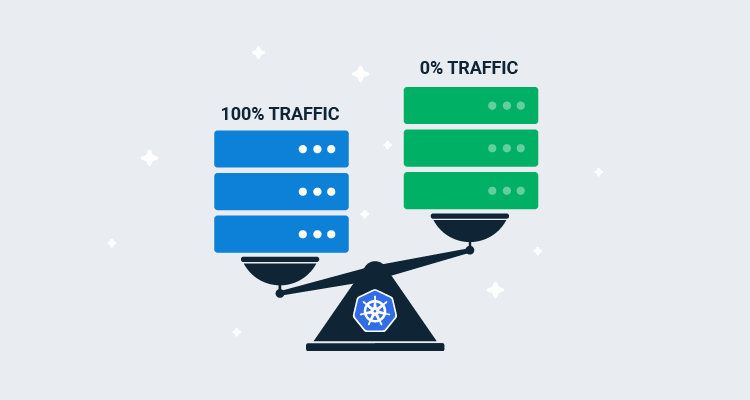
- Blue-Green Deployment: Run two identical environments—blue (current) and green (new). Direct traffic to blue, then switch to green after confirming it's healthy. If issues arise, revert traffic to blue.
- Rolling Deployment: Gradually replace instances with the new version in batches. Each batch is tested before continuing, ensuring at least part of the service remains live. This works well for horizontally scaled applications.
- Canary Deployment: Release the update to a small subset of users or instances initially. Monitor for issues, then gradually roll out to more instances. This minimizes risk by catching issues early in production.
After evaluating these strategies, I decided to use blue-green deployment. It's simple, effective, and aligns perfectly with my use case. On top of that, it doesn't require any additional third-party tools beyond what I already have.
Concept
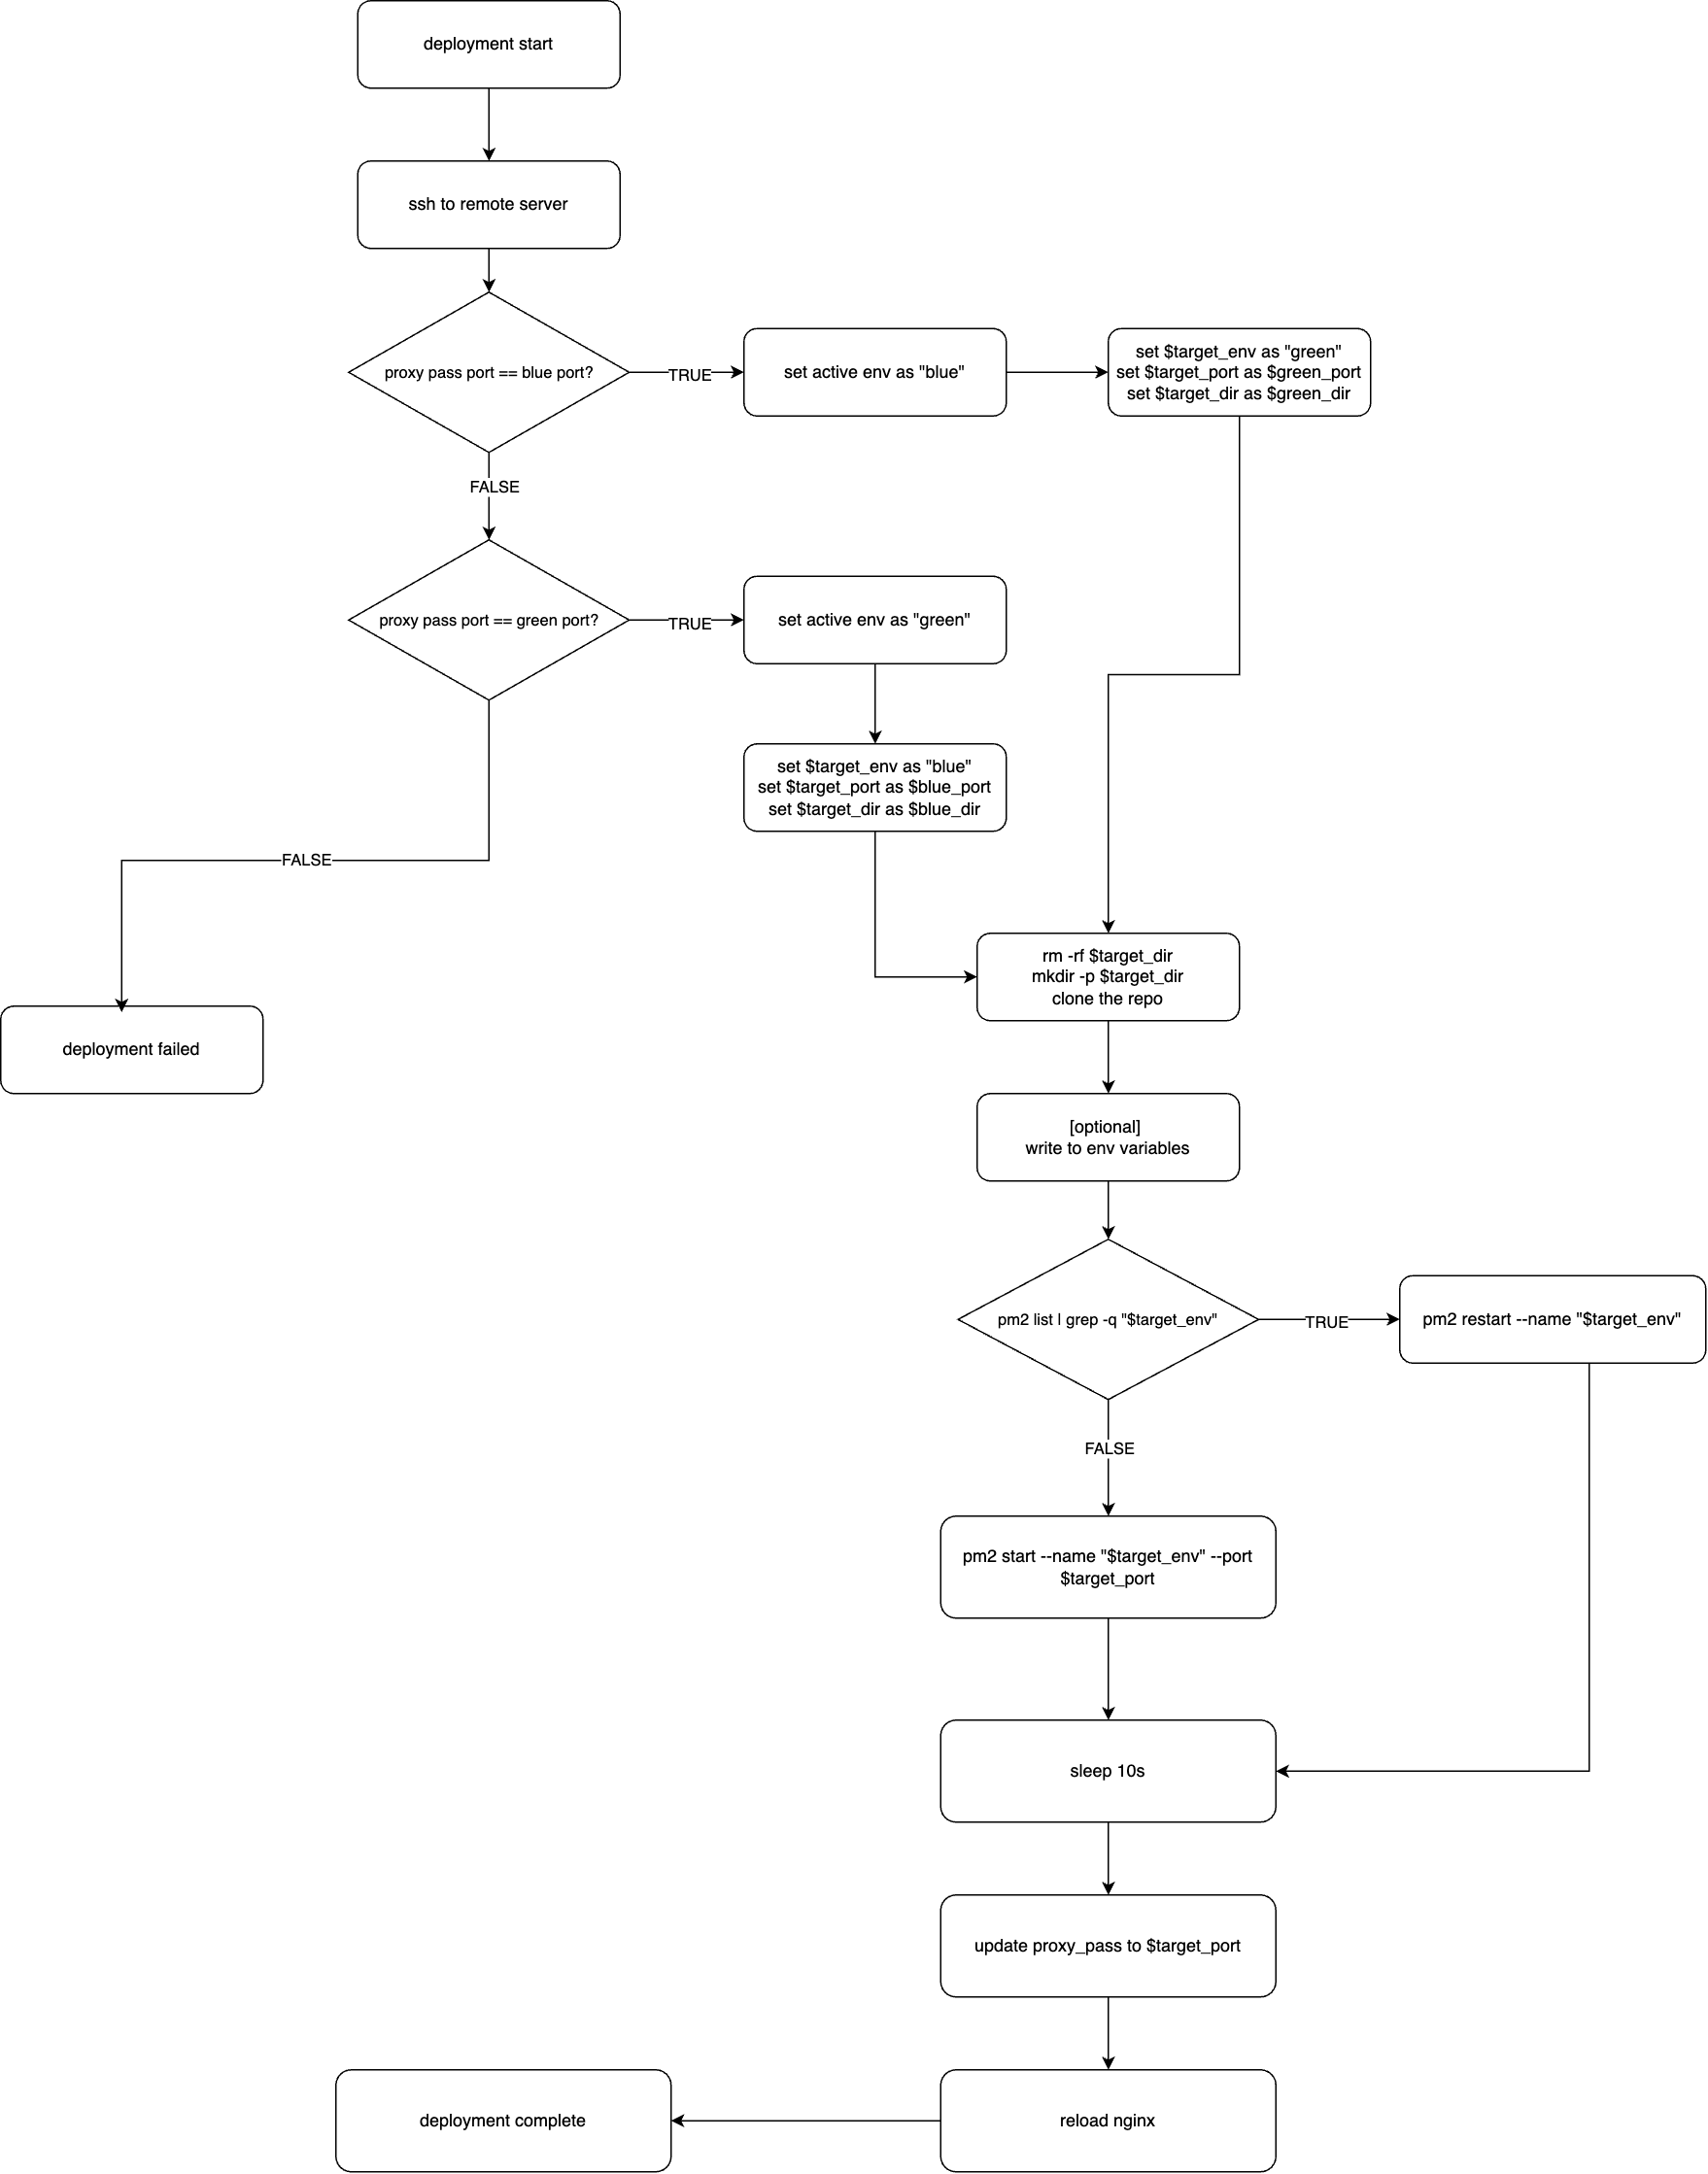
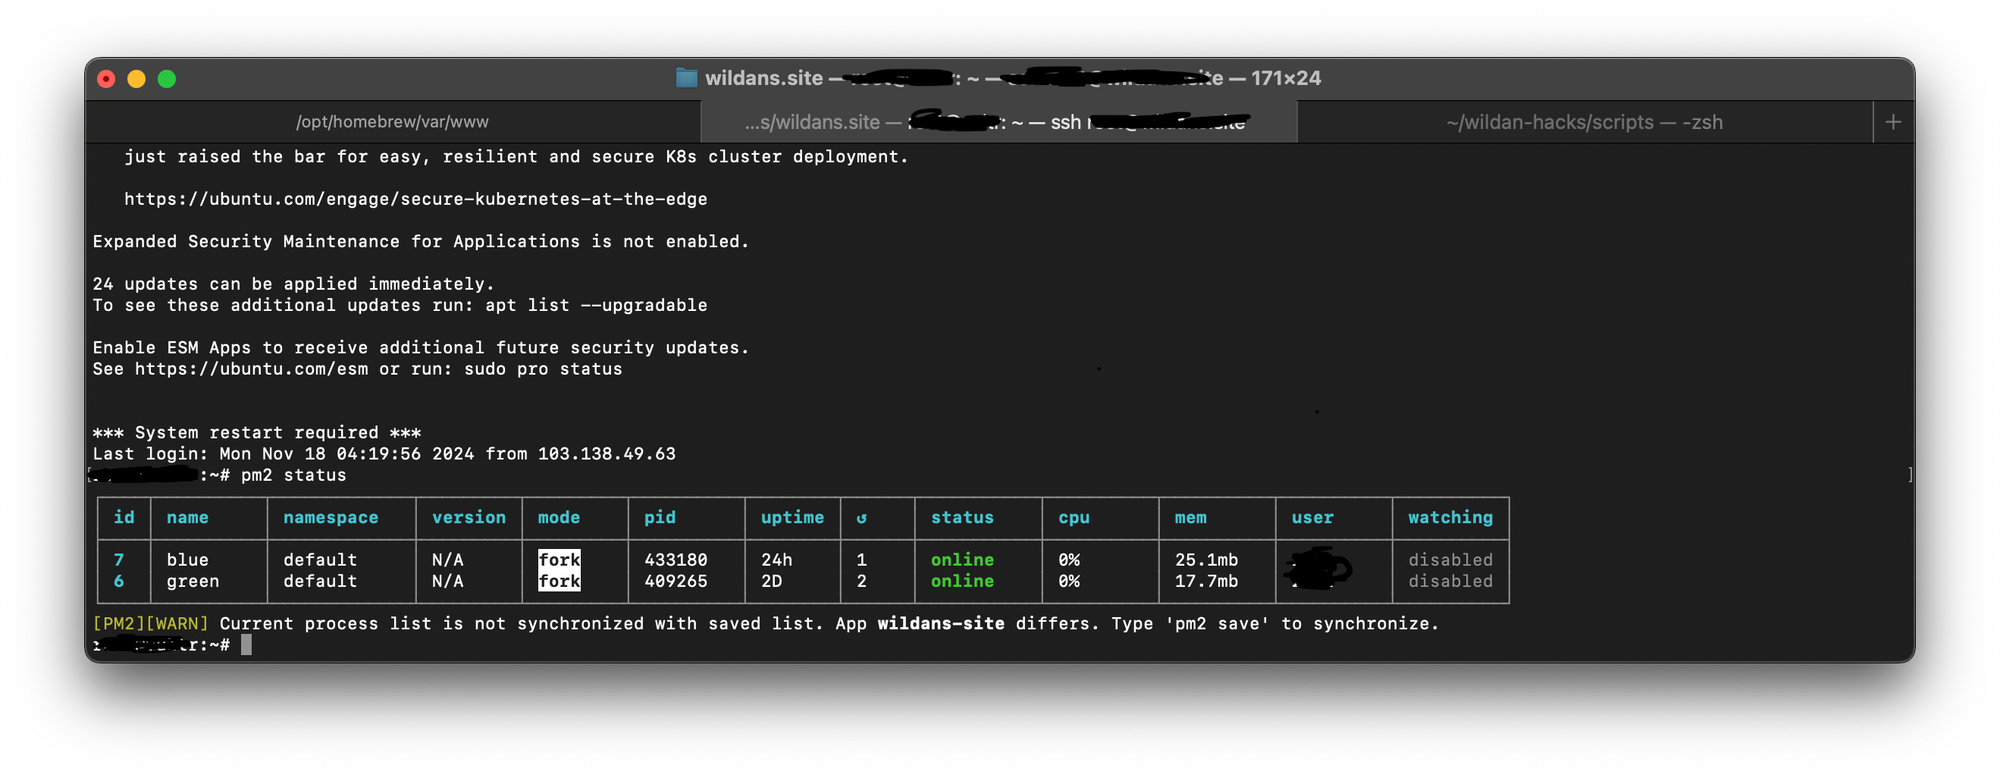
As explained briefly in the previous paragraph, the concept behind blue-green deployment is fairly simple: run two identical environments, known as blue and green. During deployment, we identify which environment is currently active (typically based on the port it's running on). For instance, if the blue environment is active, the green environment becomes the target for the new deployment and vice versa.
To make this easier to visualize, here's the flowchart illustrating the blue-green deployment process:

In my setup, I use Nginx as the web server, a Node.js application (which requires NPM to manage the application dependencies), and PM2 as the process manager. These tools were already installed and configured on my VPS before implementing the blue-green deployment strategy. However, the underlying concept is not tied to these specific tools–it can be replicated with other web servers and process managers.
For example, instead of Nginx, you could use Apache or a load balancer like HAProxy for traffic switching. Similarly, other process managers such as systemd or Supervisor could replace PM2. The key is maintaining 2 environments, verifying the new one before switching, and having ability to revert if needed.
Code
Below is the complete YAML file for achieving blue-green deployment, implemented as a GitHub Action.
name: Deploy to VPS

on:
  push:
    branches:
      - main

jobs:
  deploy:
    runs-on: ubuntu-latest
    env:
      PROJECT_REPO: git@github.com:<your-github-username>/<repo-name>.git # your git repository URL
      BLUE_NAME: "blue"
      GREEN_NAME: "green"
      BLUE_PORT: 3000 # your blue environment port. ensure it's not used by any existing process
      GREEN_PORT: 3001 # your green environment port. ensure it's not used by any existing process
      NGINX_CONF: /etc/nginx/sites-available/<your-site> # your site's nginx configuration file
      BLUE_DIR: /var/www/html/blue # your blue environment directory (customizable)
      GREEN_DIR: /var/www/html/green # your green environment directory (customizable)
    steps:
    - name: Check out the code
      uses: actions/checkout@v3

    - name: Deployment
      uses: appleboy/ssh-action@v1.2.0
      env:
        ACTIVE_ENV: ""
        TARGET_ENV: ""
        TARGET_DIR: ""
        TARGET_PORT: ""
      with:
        host: ${{ secrets.VPS_HOST }}
        username: ${{ secrets.VPS_USERNAME }}
        password: ${{ secrets.VPS_PASSWORD }}
        port: 22
        envs: ACTIVE_ENV,TARGET_ENV,TARGET_DIR,TARGET_PORT # list of environments used in this step
        script: |
          echo "Deployment using blue-green is started..."
          echo "Determining the current active environment..."
          if grep -q "proxy_pass http://localhost:${{ env.BLUE_PORT }};" "${{ env.NGINX_CONF }}"; then
            export ACTIVE_ENV="${{ env.BLUE_NAME }}"
          elif grep -q "proxy_pass http://localhost:${{ env.GREEN_PORT }};" "${{ env.NGINX_CONF }}"; then
            export ACTIVE_ENV="${{ env.GREEN_NAME }}"
          else
            echo "error: could not determine active environment" >&2
            exit 1
          fi
          echo "Active env is $ACTIVE_ENV"
          echo "Set the target environment..."
          if [ "$ACTIVE_ENV" == "blue" ]; then
            export TARGET_ENV="${{ env.GREEN_NAME }}"
            export TARGET_PORT="${{ env.GREEN_PORT }}"
            export TARGET_DIR="${{ env.GREEN_DIR }}"
          elif [ "$ACTIVE_ENV" == "green" ]; then
            export TARGET_ENV="${{ env.BLUE_NAME }}"
            export TARGET_PORT="${{ env.BLUE_PORT }}"
            export TARGET_DIR="${{ env.BLUE_DIR }}"
          else
            echo "error: could not determine target environment" >&2
            exit 1
          fi
          echo "The upcoming target environment is as follows:"
          echo "Target env: $TARGET_ENV"
          echo "Target port: $TARGET_PORT"
          echo "Target dir: $TARGET_DIR"

          echo "Cloning the repository..."
          rm -rf $TARGET_DIR
          mkdir -p $TARGET_DIR
          git clone ${{ env.PROJECT_REPO }} $TARGET_DIR
          echo "Repository cloned"
          echo "Writing to environment variables..." # your environment variables, if any
          echo "ENV_KEY=${{ secrets.ENV_KEY }}" >> $TARGET_DIR/.env
          echo "Environment variables written"
          echo "Install and build application..." # your install and build app stage (if any)
          cd $TARGET_DIR
          npm install
          npm run build
          echo "Dependencies installed and app built"
          echo "Start or restart application via PM2..."
          if pm2 list | grep -q "$TARGET_ENV"; then
            echo "App detected. Restarting the app..."
            pm2 restart "$TARGET_ENV" || { echo "Failed to restart app"; exit 1; }
          else
            echo "App is not started yet. Starting the app..."
            pm2 start npm --name "$TARGET_ENV" -- run start -- -p "$TARGET_PORT" || { echo "Failed to start app"; exit 1; }
          fi
          echo "Application started/restarted"
          echo "Adding delay to ensure the app is ready..."
          sleep 10s
          echo "Delay finished" # you could also add healthcheck here before traffic switching
          echo "Update nginx port..."
          sudo sed -i "s|proxy_pass http://localhost:[0-9]*;|proxy_pass http://localhost:$TARGET_PORT;|" "${{ env.NGINX_CONF }}"
          sudo nginx -s reload
          echo "Nginx updated"
The process is straightforward: the workflow uses appleboy/ssh-action to SSH into the remote server and sets environment variables to manage the deployment state. It then identifies the current active environment via Nginx's proxy_pass and determines the target (blue or green) environment.
Next, it clones the repository, installs dependencies, and builds the app (if necessary). Depending on the app state, it either starts a new instance or restarts the existing one. Finally, it reloads Nginx to reflect the changes and switch traffic to the new environment.

Conclusion
The current setup has been successfully tested on different applications, including a static front-end app built with Next.js and a full-stack app using Express.js with a template engine. Both utilize the same approach: two environments differentiated by ports. This effectively eliminates downtime during deployment, achieving the code objective of blue-green deployment.
Blue-green deployment has proven to be not only highly effective but also relatively simple to understand and implement across various application types (though it's not a silver bullet). The key lies in maintaining two environments, switching traffic seamlessly, and verifying the new environment before activation.
Next steps
While this setup has been running smoothly, there are a couple of improvements I plan to implement:
- Add a health check: Ensure the application is fully ready to serve traffic before switching environments.
- Decouple the deployment logic: Extract the blue-green deployment process into its own GitHub Action, making it more flexible, reusable, and independent from the SSH action.
I’ll be sure to share updates as I work on these enhancements. Thank you for reading, and I hope this inspires you to explore blue-green deployment for your own projects!
References


